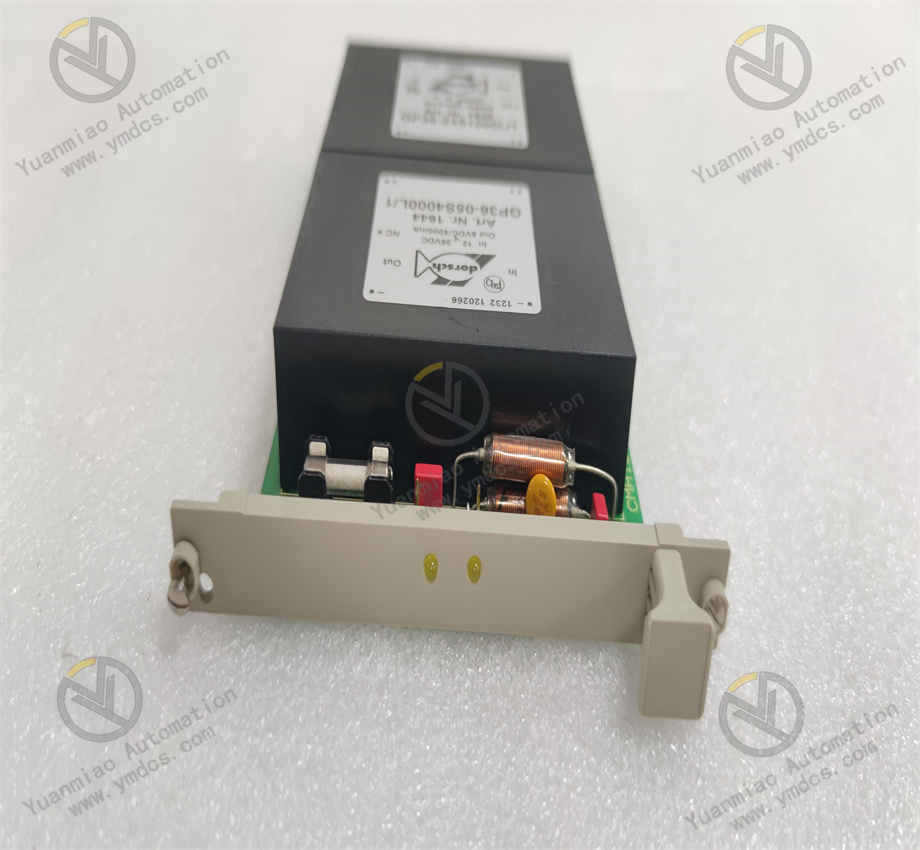
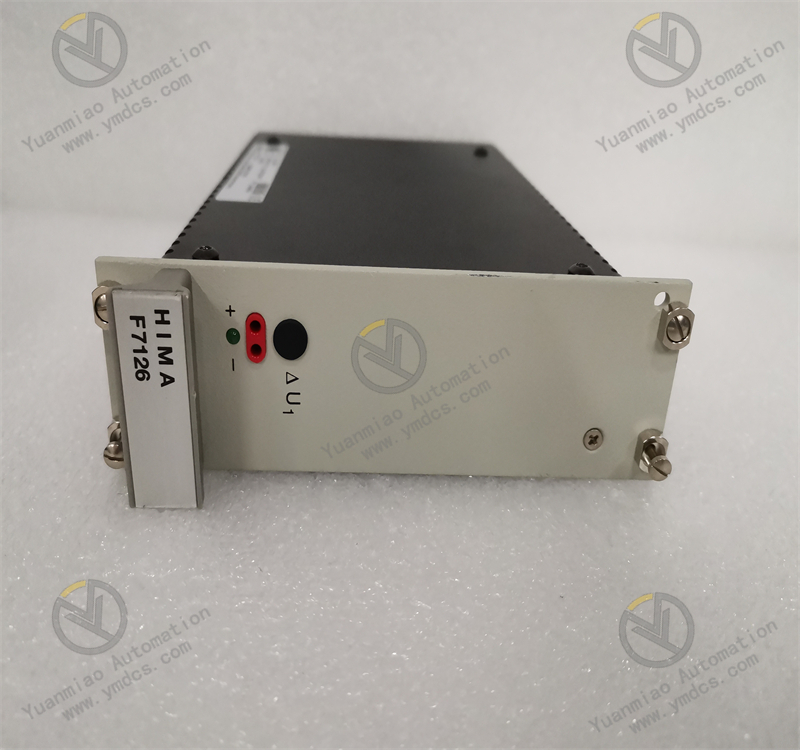
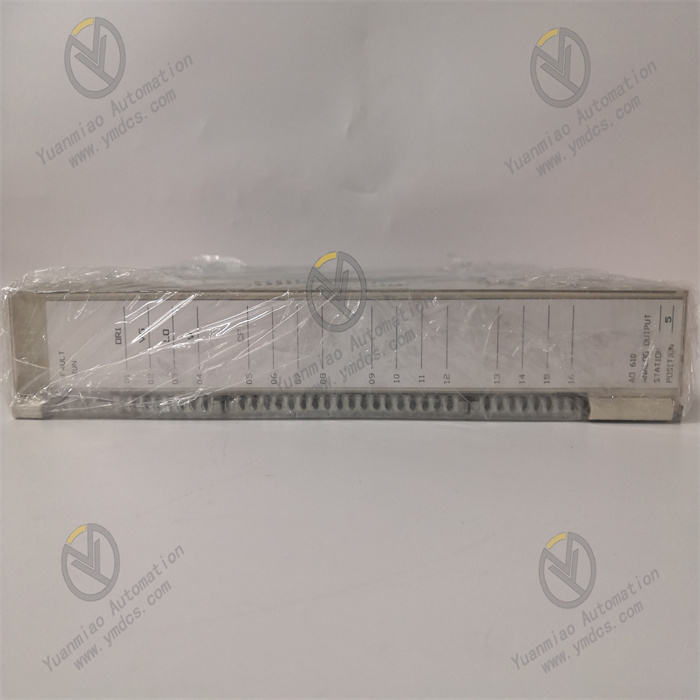
Description
Functional Features High-precision measurement: Using advanced sensor technology and measurement algorithms, it can perform high-precision three-dimensional measurements of the size, shape, etc. of objects, providing accurate data support for quality inspection and component processing in industrial production. The measurement accuracy can reach the micron level. Fast scanning: It has the ability of rapid data collection and can complete the three-dimensional scanning of objects in a short time, improving production efficiency and being suitable for application scenarios such as online detection and rapid prototyping. For example, on the automotive parts production line, it can quickly scan the parts and detect dimensional deviations in a timely manner. Flexible interfaces: It provides various communication interfaces such as Ethernet and USB, making it convenient for integration with other devices or systems. It supports the output of multiple data formats and can seamlessly interface with CAD/CAM software, robot control systems, etc., realizing the optimization of the automated production process. Powerful software functions: It is equipped with specialized three-dimensional measurement software, which has rich data analysis and processing functions. It can perform operations such as point cloud data processing, model reconstruction, dimension marking, and tolerance analysis, helping users quickly and accurately obtain the required information and generate detailed inspection reports.

Technical Parameters Measurement range: For example, the measurement ranges of the X, Y, and Z axes may be 0 - 500mm, 0 - 500mm, and 0 - 300mm respectively. The specific range varies according to different configurations and application requirements. Measurement accuracy: Usually between ±0.05mm - ±0.1mm. The specific accuracy depends on factors such as the measurement environment and the material of the object. Scanning speed: It can achieve a collection speed of thousands of measurement points per second, quickly obtaining the three-dimensional data of the object. Operating temperature: The general operating temperature range is 0°C - 40°C. Within this temperature range, it can ensure the stable operation of the device and the measurement accuracy. Application Areas Automotive manufacturing: It is used in the quality inspection of automotive parts, mold manufacturing, body assembly, and other links. It can detect the dimensional accuracy and surface flatness of parts, ensuring that the parts meet the design requirements and improving the assembly quality and safety of automobiles. Mechanical processing: In the mechanical processing industry, it can perform three-dimensional measurements on processed parts, compare them with CAD models, and detect processing errors in a timely manner for adjustment and correction, improving the processing accuracy and product quality. Electronic manufacturing: It is suitable for the measurement and inspection of components such as the casings of electronic devices and circuit boards. It can detect the dimensional accuracy of the casings, the position accuracy of components on the circuit boards, etc., ensuring the quality and reliability of electronic products. Reverse engineering: By performing three-dimensional scanning of existing objects to obtain their three-dimensional data, and then using CAD/CAM software for model reconstruction, it can be used in aspects such as product imitation and design improvement.
Common Faults and Solutions
1. Inaccurate measurement results
Reasons: The sensor is contaminated, there is interference from environmental light, the reflectivity of the object surface is uneven, the device is not calibrated, etc.
Solutions: Clean the surface of the sensor; avoid using it in an environment with direct strong light or large light changes, and take shading measures if necessary; preprocess the object surface to make its reflectivity uniform; perform regular calibration according to the requirements of the device instruction manual.
2. Slow scanning speed
Reasons: Insufficient data transmission bandwidth, computer performance bottleneck, software operation failure, etc.
Solutions: Check the network connection or USB interface to ensure stable data transmission; upgrade computer hardware, such as increasing the memory and replacing the hard drive with a high-speed one; close other unnecessary software, restart the measurement software, and update the software version if necessary.
3. Device cannot start
Reasons: Power supply failure, poor hardware connection, software error, etc.
Solutions: Check whether the power adapter is working properly to ensure normal power supply to the device; check whether the connection lines between the device, the computer, the sensor, etc. are loose or damaged, and reconnect or replace the connection lines; try to reinstall the device driver and measurement software. If the device still cannot start, contact ABB technical support personnel for maintenance.


