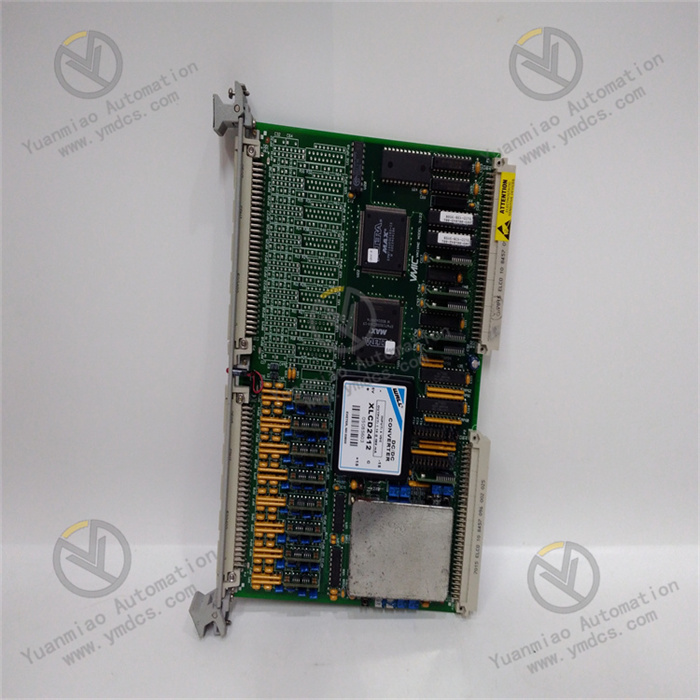
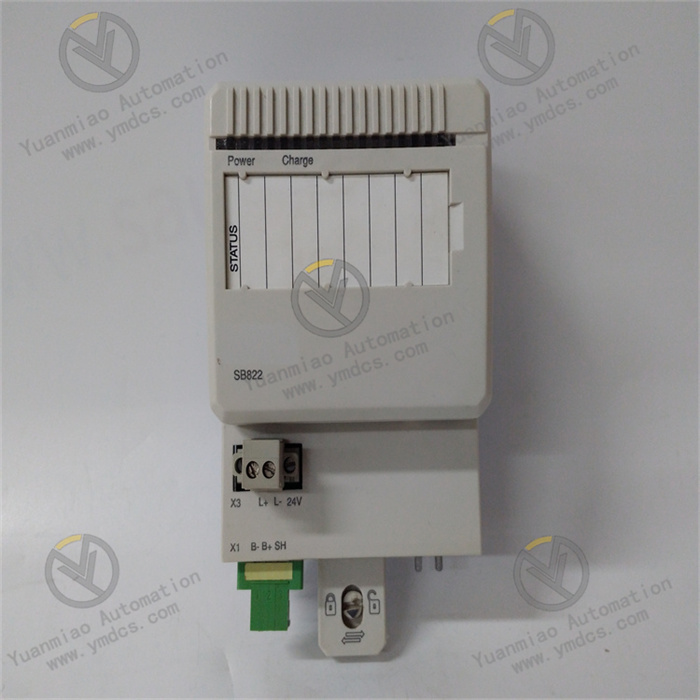
Description
Functional Features
- High Efficiency: Adopts an advanced switching power supply topology with a conversion efficiency of over 90%, effectively reducing energy loss and improving energy utilization.
- High Reliability: Utilizes high-quality components and advanced manufacturing processes to ensure long-term stable operation in industrial environments, reducing failure rates and guaranteeing stable power supply to the system.
- Low Noise: Designed to minimize electromagnetic interference, producing low noise, making it suitable for industrial environments with high noise requirements.
- Wide Input Voltage Range: Supports an input voltage of 100-240V AC, 50/60Hz, adapting to various voltage fluctuations, enhancing system flexibility and adaptability, and ensuring stable operation under different power grid conditions.
- Complete Protection Functions: Equipped with overload protection, short-circuit protection, and overvoltage protection. In case of abnormal conditions, it can promptly cut off the power supply or limit the output to protect connected devices from damage.
- Convenient Communication Interface: Supports RS485 communication interface, facilitating data exchange and communication with other devices or control systems to achieve remote monitoring and management.
Technical Parameters
- Input Parameters: Input voltage range of 100-240V AC, frequency of 50/60Hz, adaptable to multiple global power grid environments.
- Output Parameters: Stable output voltage of 24V DC, output power of 72W, meeting the power supply needs of various industrial automation devices.
- Other Parameters: Efficiency >85%, ripple <50mVp, dimensions 102mm×63mm×28mm, weight approx. 4.3kg. Operating temperature range: -20°C to +60°C, storage temperature range: -40°C to +85°C, relative humidity ≤95% (non-condensing).
Operation Guide
- Installation: Supports rail mounting or panel mounting. When installing, first select a suitable installation method based on actual needs, ensuring sufficient space for heat dissipation and easy maintenance at the installation location. Then fix the module on the rail or panel in the correct orientation and manner, and connect the input power cord and communication cable firmly.
- Configuration: Typically, the module comes with default configurations and can be put into use directly. For special requirements, it can be connected to a host computer or control system via the RS485 communication interface, and relevant parameters (such as output voltage, protection thresholds, and communication parameters) can be configured in the control system according to specific application scenarios.
- Daily Operation: During daily operation, the module's working status (such as power normality and fault alarms) can be checked through the indicator lights on the module or the monitoring interface of the control system. Meanwhile, regularly inspect whether the module connections are loose and whether the surrounding environment meets the working requirements.
- Maintenance and Troubleshooting: Regularly clean the dust on the module surface and check whether the cooling fan operates normally to ensure good heat dissipation. When a module failure occurs, first observe the status of the indicator lights and the fault information from the control system, and refer to the troubleshooting guide in the manual for diagnosis and resolution. In case of hardware failures, professional maintenance personnel may need to be contacted for repair or module replacement. When replacing the module, first cut off the power supply and follow the correct steps to dismantle and install the new module to ensure safe and proper operation.
Common Faults and Solutions
1. No Output or Power Indicator Not Lit
- Possible Causes:
- Abnormal input power (input voltage outside the module's supported range, e.g., not connected to 100-240V AC or reverse DC input polarity).
- Loose, broken input power cord, or faulty socket.
- Internal fuse blown (triggered by overload, short circuit, etc.).
- Module hardware failure (e.g., bulging capacitors, burnt components).
- Solutions:
- Check input power: Measure input voltage with a multimeter to ensure it is within the rated range (refer to product specifications). Replace the power cord or test other sockets to ensure stable input connections.
- Inspect the fuse: If the module supports a detachable fuse, turn off the power and check for a blown fuse. Replace it with a fuse of the same specification (operate with power off!). If the fuse blows frequently, internal short circuits may exist, and the manufacturer should be contacted for repair.
- Check for physical damage: After powering off, inspect the module for bulging capacitors, burnt components, etc. If obvious damage is found, return it to the factory for repair or replace the module.
2. Unstable Output Voltage or Excessive Ripple
- Possible Causes:
- Abnormal load (load exceeds the module's rated power, e.g., instantaneous overload due to simultaneous startup of multiple devices).
- Short circuit or grounding fault in the load device.
- Aging filter capacitors (reduced capacitor performance after long-term use, leading to increased output ripple).
- Input voltage fluctuations (unstable grid voltage, e.g., caused by start/stop of high-power equipment in industrial areas).
- Solutions:
- Check the load: Ensure the total load power does not exceed the module's rated output (e.g., XXW for the PM3398B series). Remove redundant devices or upgrade to a higher-power module. Use a multimeter to detect short circuits at the load end and troubleshoot device faults.
- Replace capacitors or modules: If capacitors are aged, have professional personnel replace them with capacitors of the same specification; if irreparable, replace the module.
- Stabilize input power: Connect a voltage regulator or UPS to avoid module output fluctuations caused by grid instability.
3. Module Overheating or Fan Abnormality
- Possible Causes:
- Poor heat dissipation (insufficient ventilation in the installation environment, e.g., enclosed cabinets without cooling holes, or dust accumulation blocking the module's heat dissipation holes).
- Fan failure (e.g., fan stops rotating or runs at low speed).
- Long-term full-load operation (the module continuously operates near its rated power, leading to increased heat generation).
- Solutions:
- Improve heat dissipation conditions: Ensure the module is installed in a well-ventilated environment, keep the surrounding area unobstructed, and regularly clean surface dust (use compressed air for cleaning). If installed in a cabinet, add fans or air conditioners for auxiliary cooling.
- Check fan status: After powering off, manually rotate the fan blades to check for jams or abnormal noises. If faulty, replace the fan (some modules support hot-swappable fans).
- Reduce load or upgrade the module: Avoid long-term full-load operation. If load requirements are high, switch to a higher-power model or configure a redundant power supply.
4. Abnormal Alarm Signals (e.g., Remote Monitoring Alarms)
- Possible Causes:
- Communication interface failure (loose monitoring cables, oxidized interfaces, or protocol configuration errors, e.g., MODBUS address conflicts).
- Module parameters exceeding limits (output voltage/current exceeding set thresholds, triggering alarms, e.g., overvoltage/undervoltage protection).
- Solutions:
- Check communication connections: Re-plug monitoring cables, clean interfaces, and confirm that configuration parameters (e.g., baud rate, address) match the device.
- Calibrate output parameters: Through the module's configuration interface or host computer software, check whether output threshold settings are reasonable and calibrate voltage/current values.
5. Hot-Swap Function Failure
- Possible Causes:
- Improper hot-swapping operations (e.g., excessive force causing interface damage).
- Oxidation or wear of internal contacts (frequent plugging/unplugging leading to poor contact).
- Solutions:
- Standardize operations: Ensure the module is powered off during plugging/unplugging (some modules support live hot-swapping, but refer to the manual). Plug and unplug gently to avoid shaking.
- Clean or replace interfaces: Wipe contacts with anhydrous alcohol. If oxidation is severe or contacts are damaged, return the module to the factory for repair or replace it.