Description
B&R PP045.0571-K30 is a powerful, highly flexible, and communication-rich industrial control device suitable for various automation control and industrial application scenarios.
Features:
- Multifunctionality: As a Programmable Logic Controller (PLC), it can perform tasks such as logic control, motion control, data acquisition, and communication, meeting the needs of various automation control applications.
- High Performance: Typically equipped with strong processing capabilities and high-speed input/output (I/O) processing capabilities, capable of handling complex control logic and large amounts of data.
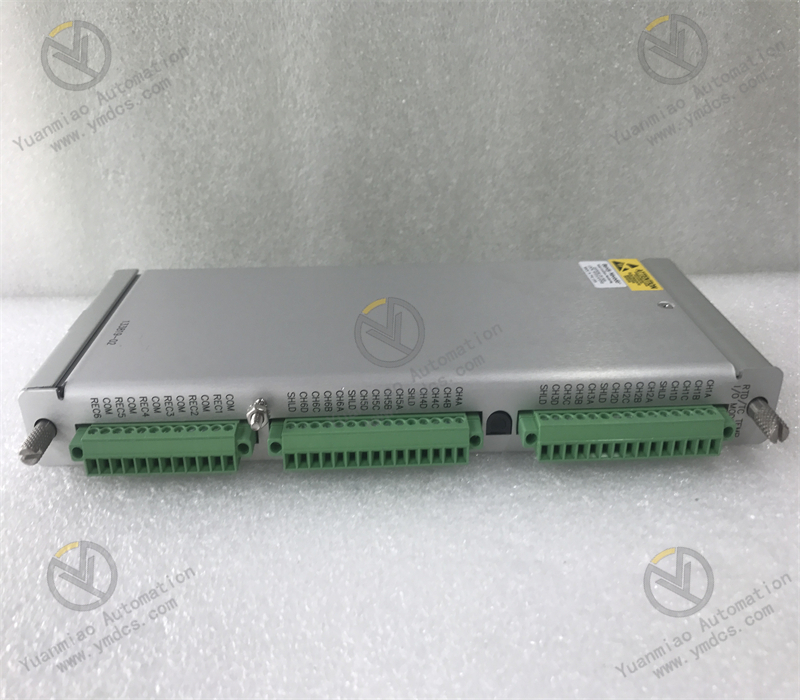
- Modular Design: Adopts a modular design, allowing users to select different modules for configuration according to specific application requirements, such as digital input/output modules, analog input/output modules, communication modules, etc. This makes system configuration more flexible and adaptable to automation systems of different scales and functional requirements.
- Programming Flexibility: Supports multiple programming languages, including Ladder Diagram, Structured Text, Function Block Diagram, etc. Users can choose suitable programming methods according to their preferences and needs, reducing programming difficulty and improving development efficiency.
- Strong Communication Capability: Equipped with rich communication interfaces such as Ethernet, serial ports, and CAN bus, enabling data communication and remote monitoring with other devices or control systems. This facilitates system integration and networked control, allowing it to be integrated into the entire factory's automation network to achieve collaborative work and information sharing among devices.
- High Reliability: As an industrial-grade control device, it has high reliability and stability, capable of operating stably in harsh industrial environments. It meets the requirements of industrial production for long-term stable operation of equipment, reduces production interruptions caused by equipment failures, and improves production efficiency and product quality.
Technical Parameters:
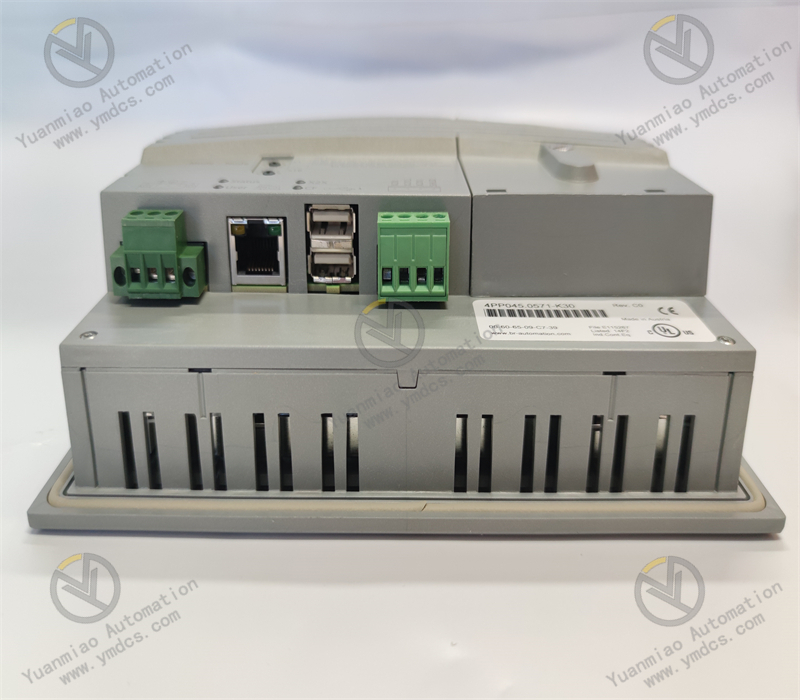
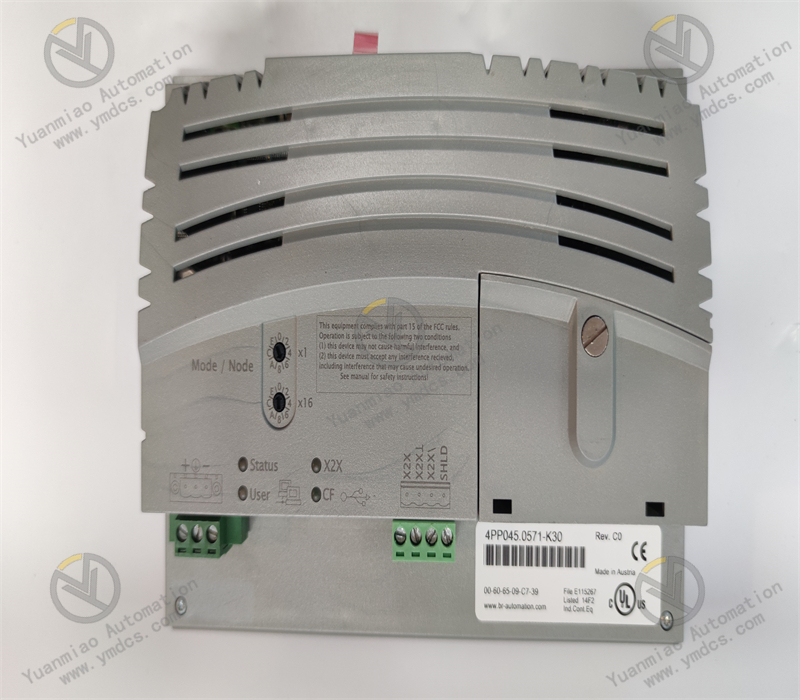
- Power Supply: 24V DC.
- Communication Interfaces: RS232 interface, CAN bus interface.
- Input/Output:
- 8–16 digital inputs and outputs.
- 0–24 analog inputs.
- 0–12 analog outputs.
- Others:
- With PCMCIA slot.
- 1 potential-free relay contact.
- 6 slots for B&R System 2003 plug-in modules, 3 of which support additional functions (TPU) such as event counting, triggering functions, stepper motor control, frequency measurement, or communication modules.
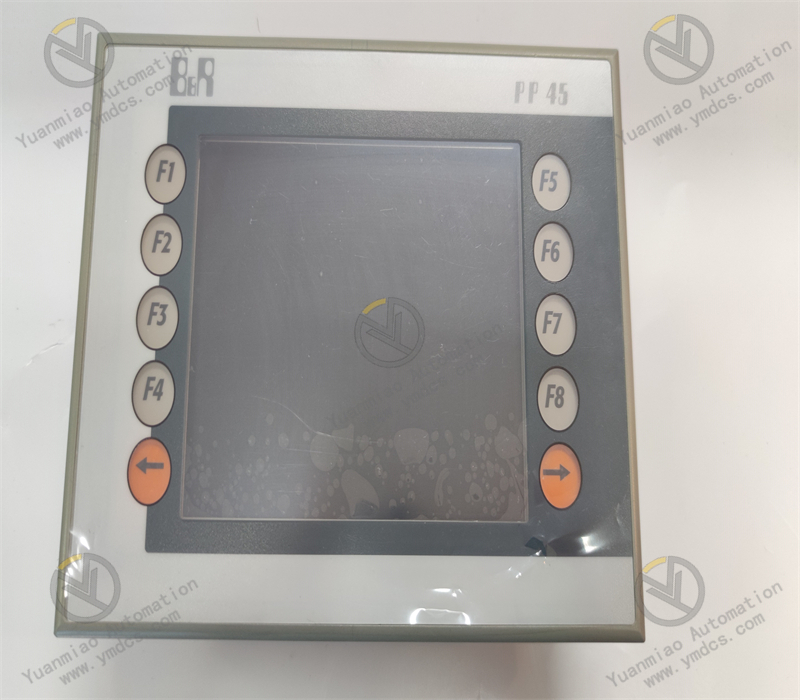
- As a touchscreen or HMI device, it typically also has the following characteristics:
- Screen Size: 5.7 inches.
- Display Type: TFT color display.
- Input Method: Touchscreen input, possibly resistive touchscreen.
- Operating Temperature: -20°C to 70°C (storage temperature); the operating temperature range is usually slightly narrower, generally -10°C to 60°C.
- Protection Level: Meets certain industrial protection requirements and can be used in harsh industrial environments.
- Storage Expansion: Supports memory card expansion for convenient data and program storage.
How to Configure the B&R PP045.0571-K30 Touchscreen?
1. Hardware Connection Preparation
- Confirm Hardware Compatibility: Ensure that the touchscreen's communication interface matches the controller (e.g., B&R PLC), such as Ethernet or CANopen. Check the power input (usually DC 24V) to ensure stable power supply.
- Physical Connections:
- Power Cable: Connect to DC 24V power supply according to label markings (note positive and negative poles).
- Communication Cable: Connect to the controller or switch via an Ethernet cable, or use a dedicated bus cable (e.g., CANopen).
- Optional Interfaces: USB ports can connect keyboards, mice, or USB drives (for program downloading or data backup).
2. Software Tools and Firmware Preparation
- Install Development Software: Use B&R's Automation Studio software (which needs to include HMI components) for interface design and configuration.
- Software download address: B&R official website (requires account registration).
- Update Firmware (Optional): If the touchscreen's firmware version is too low, upgrade it through the following steps:
- Access the "Firmware Management" function in Automation Studio.
- Download the firmware file (.bin format) for the corresponding model to a USB drive.
- Insert the USB drive into the touchscreen's USB port and complete the upgrade according to on-screen prompts (ensure stable power supply during the upgrade).
3. Create an HMI Project
- New Project: Open Automation Studio, select "HMI Project," and specify the touchscreen model (PP045.0571-K30). Configure project parameters: language, resolution (usually 800×480 or according to the actual screen size), and communication protocol (e.g., Ethernet/IP, Modbus TCP).
- Design User Interface: Use the software's built-in graphics library and control tools (such as buttons, indicator lights, trend charts, data input boxes, etc.) to design the operation interface.
- Drag and drop a "button" control and associate it with a control variable in the PLC (e.g., start/stop signals).
- Add a "numeric display" control and bind it to real-time sensor data (e.g., temperature, pressure).
- Design an alarm interface: trigger alarm information display through conditions and associate sound prompts.
- Example Steps:
- Configure Communication Parameters: Select the controller type (e.g., B&R X20 series PLC) in "Communication Settings" and enter the controller's IP address or bus address.
- Test Connection: Use the software's built-in diagnostic tools to check the communication between the HMI and the controller (e.g., ping test or variable monitoring).
4. Download and Debugging
- Download the Project to the Touchscreen:
- Ethernet Download: Directly connect the PC to the touchscreen via a network cable or access the same local area network. Select "Download to Device" in the software and enter the touchscreen's IP address (the default may be 192.168.1.100; ensure the PC and touchscreen have matching IP address segments).
- USB Download: Package the project as an .arp file, copy it to a USB drive, insert it into the touchscreen's USB port, and select "Load Project from USB" via the touchscreen menu.
- Run and Debug: Start the touchscreen and enter runtime mode to verify whether interface elements respond normally (e.g., button operations, data refresh).
- Use the software's "online monitoring" function to view variable interactions between the HMI and PLC in real time.
- Check the alarm function: manually trigger fault conditions to confirm that the alarm interface pops up and the notification mechanism works properly.
- Test multilingual switching (if configured): ensure that different language interfaces are displayed correctly.
- Debugging Tips:
5. Advanced Function Configuration
- User Rights Management: Create "user groups" (such as operators, engineers, administrators) in the software and assign different permissions (e.g., prohibit parameter modification, allow shutdown operations). Add "login/logout buttons" to the interface and associate them with user rights variables to restrict sensitive operations.
- Data Recording and Export: Configure "trend data recording": set the sampling period and storage path (such as the touchscreen's built-in storage or USB drive) for historical data query. Enable "alarm recording": record alarm time, type, and recovery status, supporting CSV format export.
- System Settings (Touchscreen Local Configuration): After startup, enter the "system menu" (usually by long-pressing the screen corner or entering a password) to set:
- Date/time, backlight brightness, screen calibration (calibration path: Settings → Display → Screen Calibration).
- Network parameters (IP address, subnet mask, gateway).
- Factory reset (use with caution, as it will clear all user data).
6. Common Issues and Solutions
| Issue | Possible Cause | Solution |
|---|---|---|
| No display on touchscreen | Power failure, backlight damage | Check power connections, replace backlight module (requires professionals) |
| Communication failure | IP address conflict, incorrect protocol configuration | Reconfigure the IP address segment, check communication protocol parameters |
| Buttons unresponsive | Incorrect variable association, insufficient permissions | Check variable address mapping, upgrade user permissions |
| Screen lag | Oversized project files, insufficient hardware performance | Optimize inte |